
To get started, download the AceThinker Video Master installation package and double-click to start the installation. The setup process is very simple; follow the wizard, and you will be done within a few clicks. When the installation is complete, AceThinker Video Master will launch automatically. Enter the license key if you have already bought it. If not, you can give it a try first by clicking Evaluate in the pop-up window. After that, you will enter the main interface. It is very user-friendly with all of the key function buttons displayed at the top of the interface.
Convert Video and Audio
Step 1 Add file(s)
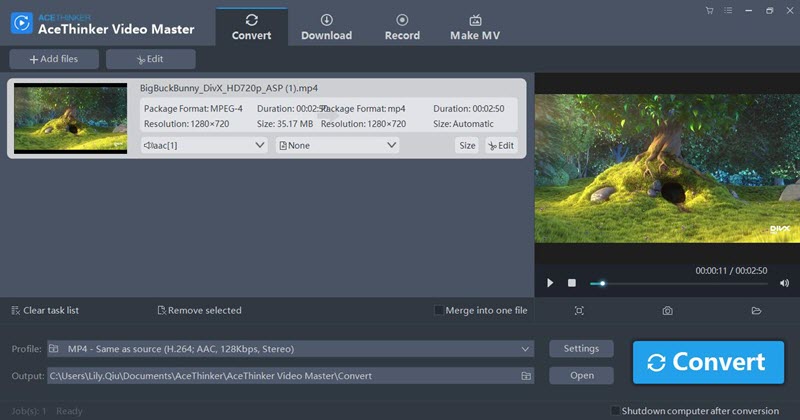
There are three ways to add files: (1) click Add Files in the top left corner, (2) drag files to the interface, or (3) click Add Files in the center of the interface. Loaded files will be listed on the left panel. The loaded videos' details (including format, duration, resolution, and size) will be displayed next to each video's thumbnail.To remove files, hover over the video thumbnail, and you see in the top right corner. Click it to remove the video or audio. Alternatively, click the video to select it and then click Remove Selected. To remove all, click Clear Task List.
Step 2 Choose the output format
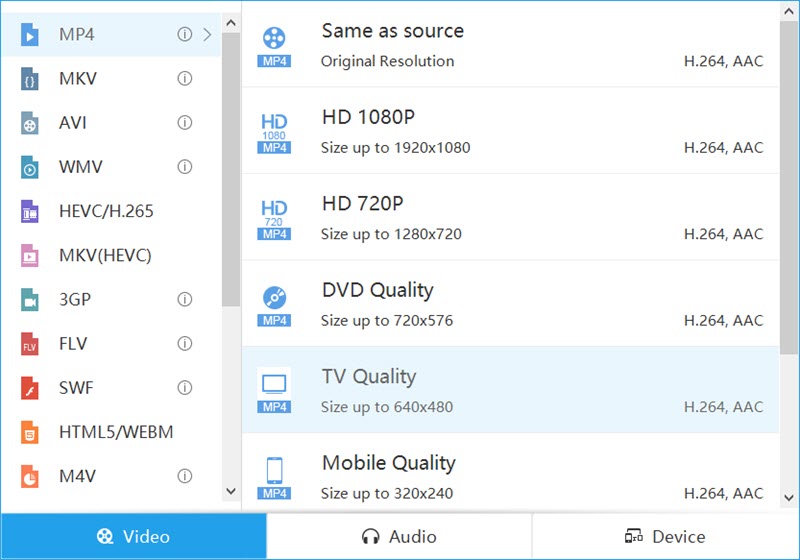
To set the output format, click in the Profile bar to open the profile list. There are three categories to choose from: Video, Audio, and Device. Choose output video formats such as MP4, MOV, AVI, WMV, and so on from the Video category. Choose audio formats such as MP3, WMA, M4A, and more from the Audio category.The Device category comes handy if you want to convert videos for your mobile device for use on your computer thanks to the device output presets. They include all the popular mobile devices, such as iPhone, Samsung, HTC, and more. The list will be continuously updated, so you do not need to worry about converting video or audio files for new gadgets.
For those who are video savvy and want to have more control over the parameter settings, click Settings next to the Profile bar to configure output format. Under Profile, you can set the output path for the converted video and audio files.
Step 2 Start converting your files
When you are done with all the output settings, you can preview the output video in the preview window. If you are satisfied with the output results, click the blue Convert button under the preview window. The conversion will start. AceThinker Video Master supports converting several files in one go and runs in the background. Let AceThinker Video Master do the boring work, and you can enjoy the output file when it is done. If you want to go out during conversion, just check the Shutdown Computer after Conversion.
Edit the Video
AceThinker Video Master provides comprehensive video editing features and cool effects to customize your videos. To edit a video, click the video thumbnail to select it and click Edit File next to Add File. You will enter the edit window.
2.1 Trim and Cut
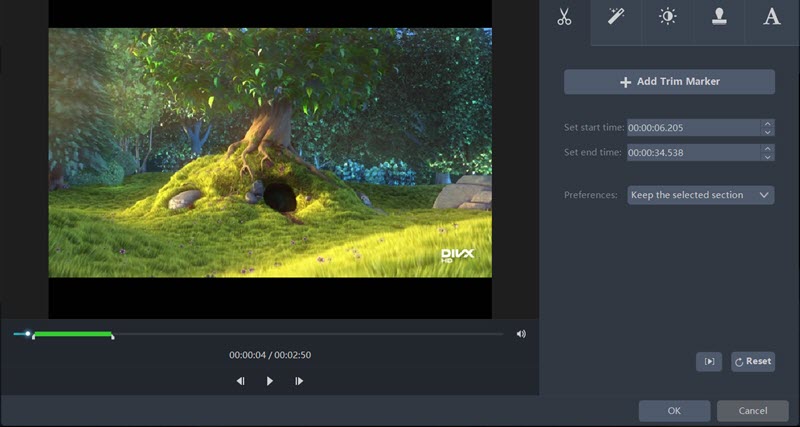
Under the Trim " " tab, you can set the start and end time by entering the time manually or by clicking Add Trim Marker and dragging the slider to choose the part you want to keep or delete. Go to Preferences to choose Keep the Selected Section or Delete the Selected Section.
2.2 Adjust
Under the Adjust " " tab, you can rotate, flip, crop, change the aspect ratio, and synchronize video and audio.
Rotate: You can flip the video horizontally or vertically and rotate 90 degrees left or right.
Crop: Click Crop and the video will be in a blue window. Drag the blue lines to cut unwanted parts
Change the Aspect Ratio: In the drop-down menu, you will find five options—Original Resolution, Crop Size, 16:9, 4:3, and 2.35:1.
Synchronize: If your video and audio are not synchronized, you can set it to delay or advance in seconds.

2.3 Apply effects
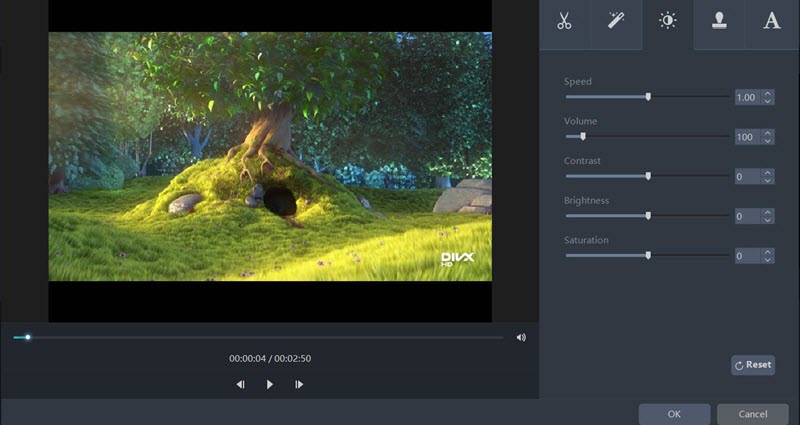
Under the Effects " " tab, you can change the speed, volume, brightness, contrast, and saturation of the video.
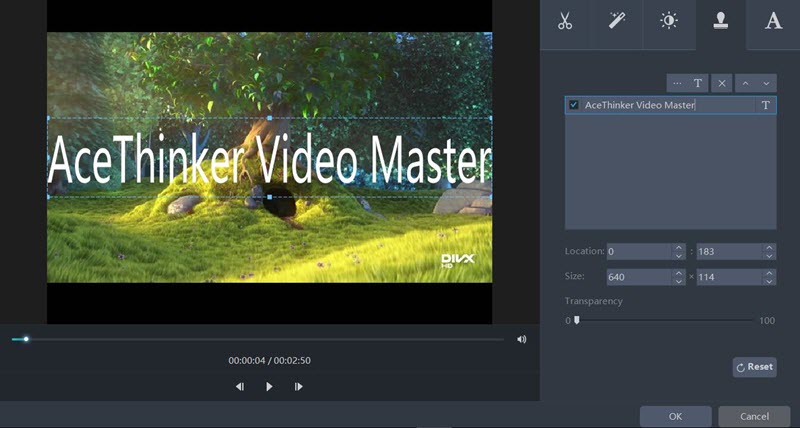
2.4 Add a Watermark
Under the Watermark " " tab, you can add both text and image watermarks. You can also set the location, size, and transparency of the watermark.
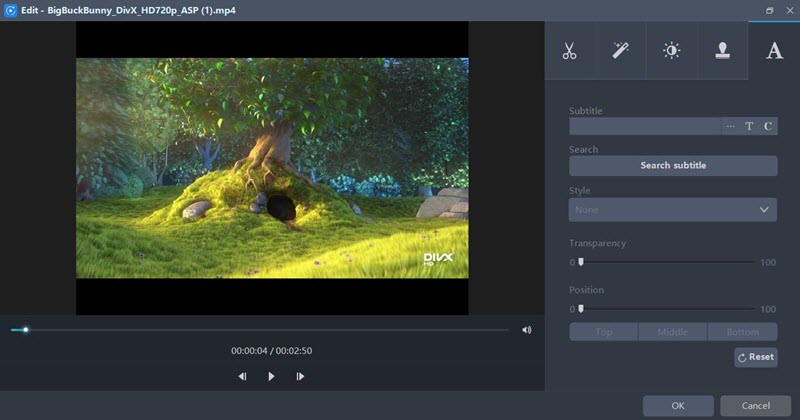
2.5 Add Subtitles
Under the Subtitles " " tab, you can import subtitles files and set the font, size, effect, color, position, and subtitle encoding.
When you are satisfied with all the settings, click OK in the Edit window, and click Convert to export it.
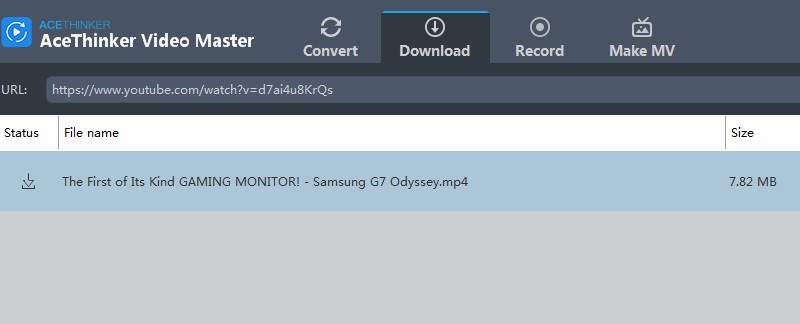
Download Online Videos
Go to the Download tab enter the URL of the video you want to download, and the download will start. You can add more URLs to the queue while downloading.
Record Computer Screen
Click Record at the top of the interface and click Record in the top left corner. You will be given five options: Region, Fullscreen, Near mouse, Web Camera, and Only Audio. Choose the option that best fits your needs to start recording.
