

How to Use AceThinker Aqua Sound (Music Recorder)
The best audio recording tool on the planet is AceThinker Aqua Sound. You can use this software to record any audio or voice with a microphone. This app allows you to record audio calls, audio tracks, lessons, and music calls without stress. It also supports different audio formats like AAC, MP3, and M4A. This recorder has a clip feature, which can be used to remove any part from the soundtrack or audio you do not want. Its Task Schedule and hotkey function save users plenty of time when recording. To know more about this tool and how to use it, read this post completely.Register the Program
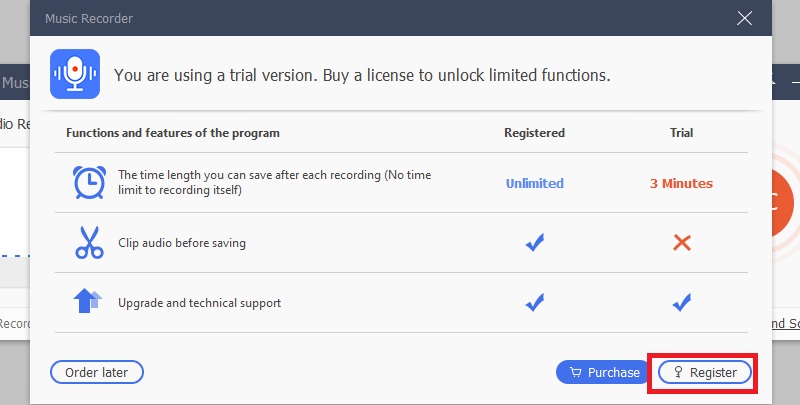
You will have to register the software if you need features that will allow you to be able to clip parts you don’t want or record more than 3-minute audio. You will be reminded to register this tool any time you open it. Click on Register to register the app. Also, you can access the registration window when you click on the Key-shaped icon at the top of the interface.
A window will pop up when you click Register. Enter your email address; a registration code will be sent to the email you use. Enter the code, and click the “Register” button.
Email Address: You will be asked to provide your email when you purchased the program. You are to use the same email when registering the software.
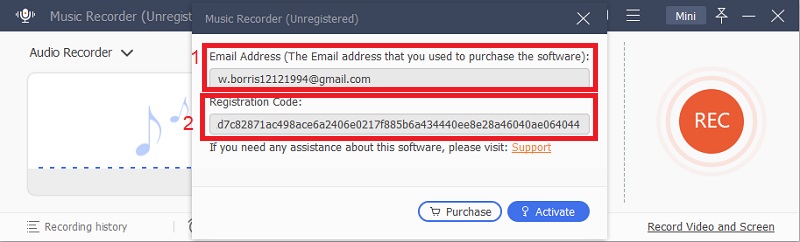
Registration Code: A registration code will be sent to the email you provided. Copy the code and paste it in the required box to activate the software.
How to Record Audio with Original Quality
Step 1Launch the Recorder
Open the app on your computer.
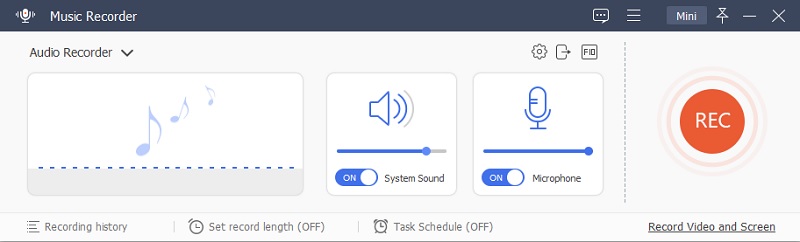
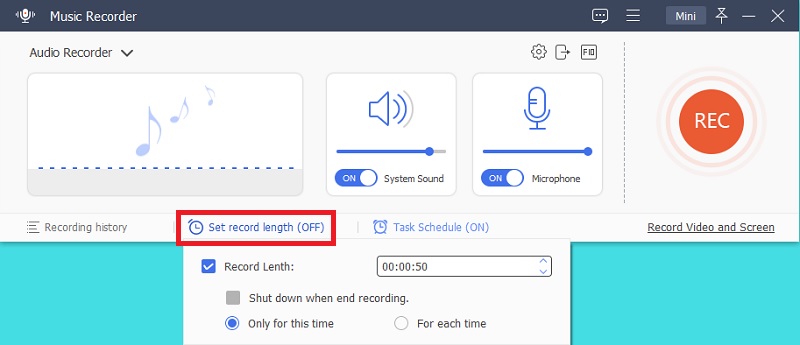
Step 2Identify the Audio Source
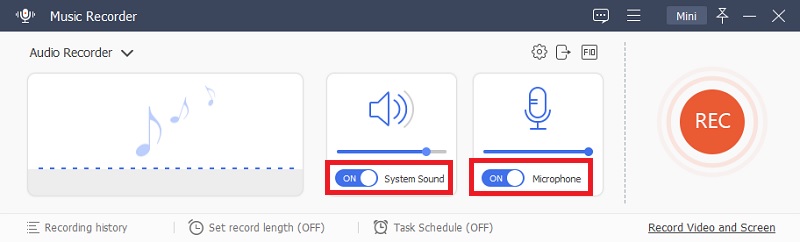
To record your voice, activate the microphone, or system sound.
Step 3Start Recording Audio
To start recording, click on the “REC” button. You can also use hotkeys to initiate the recording process.

Step 4Stop the Recording
You can adjust the volume during the record session. To stop recording, click the stop icon (red square button).
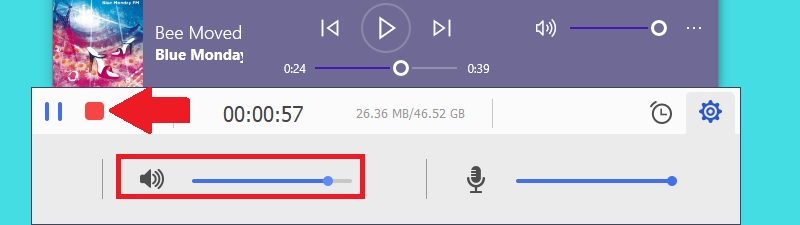
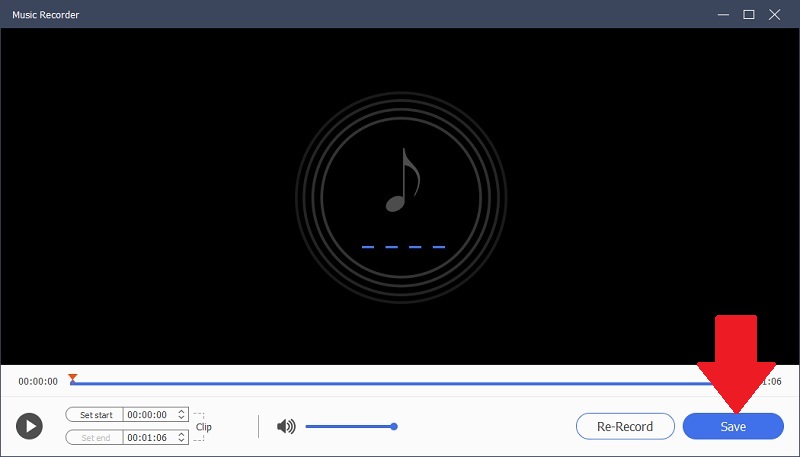
After following the steps above, you will see your recorded audio. Here, you will be able to preview the audio or edit it.
- Adjust the volume
- Clip audio by entering starting time and ending time
- Record the audio again and save it on your device.
You will be asked to choose a path to save the file once you click on “Save.” This will also reveal all the files you have recorded.
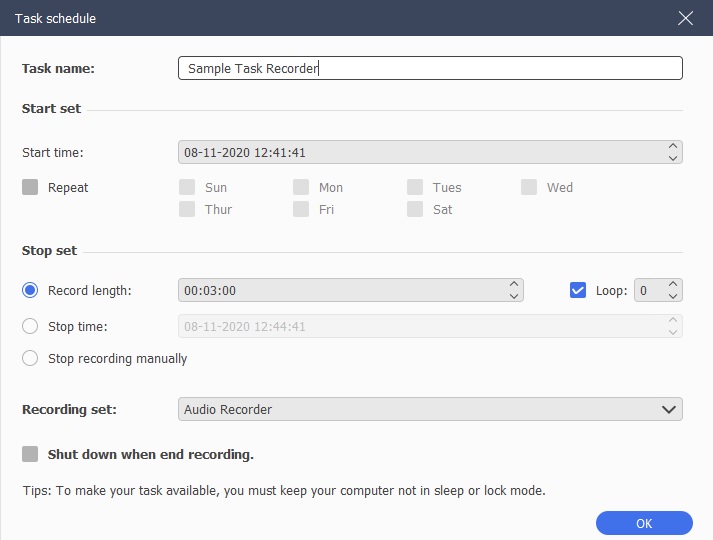
Task Schedule
At the bottom of the app’s main interface, you will find Task Scheduler. You can edit your settings here and also add fresh tasks. You can set the record length, time to start recording, frequency, and so on. Once you are done, Audio Recorder will start the recording automatically based on the settings you choose.
Set Record Length
You will find Set Record Length at the bottom of the Software interface. There is no need to be looking at your screen always to know when to end the record session once you set the recording length. With this setting, the app will bring an end to your recording session automatically. Also, you can set the length you want for while recording.
Set Preferences
The preference option allows you to modify settings for recording based on what you want. There are 3 small icons on the top right side of the app's interface that you can use to adjust preferences.
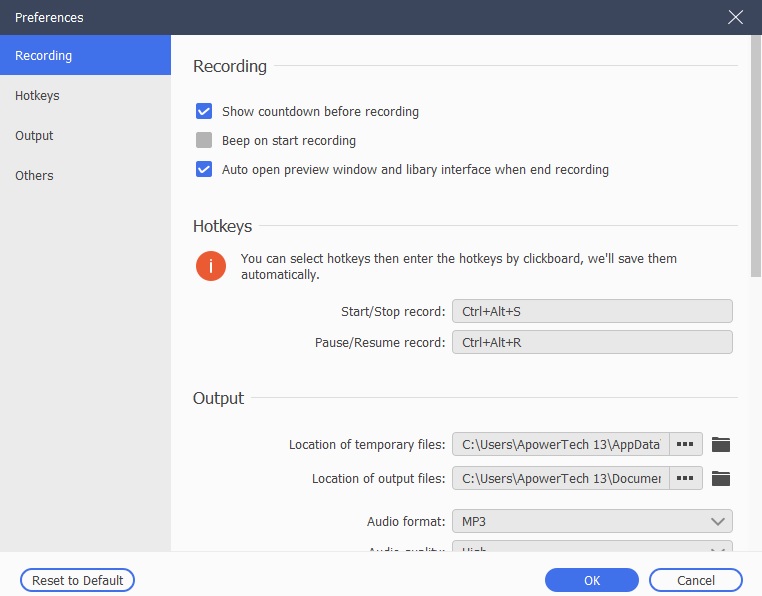
Recording
To access recording settings, click on the Gear icon. Different choices you can choose from will appear. They include: show countdown before recording, been on start recording, hide float bar when recording, and auto open preview window when ending recording sounds.
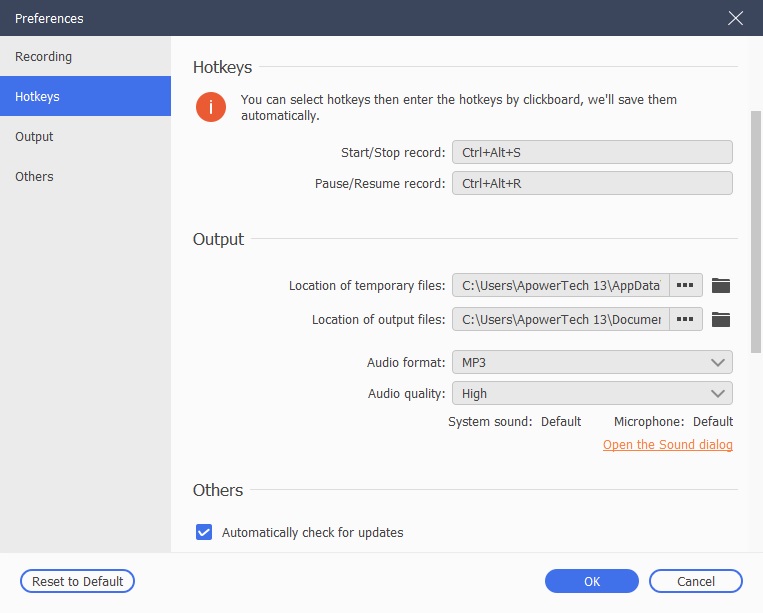
Hotkeys
You will see the settings for hotkeys when you point your mouse at the interface for preference or click the FIQ icon. You can choose any key combination to start/stop record, pause/resume record, and show/hide float panel. You can use the default hotkeys or create yours.
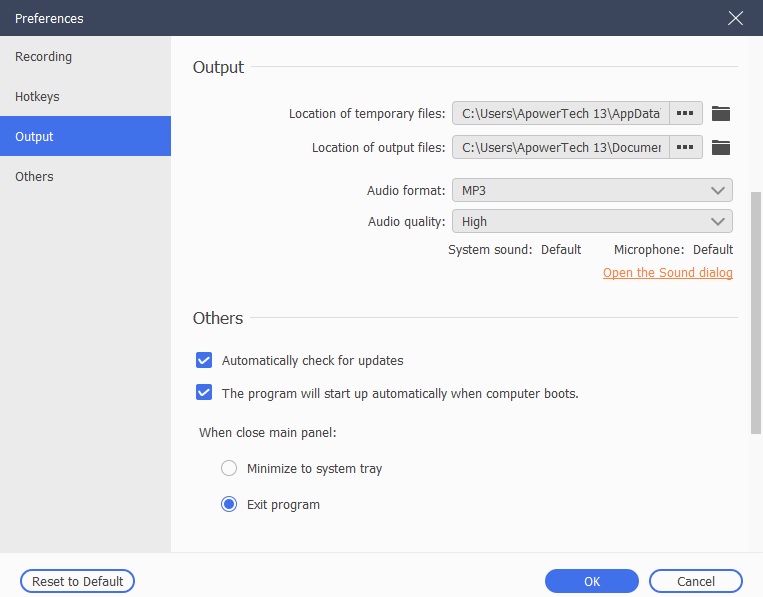
Output
It Offers settings for output. To access this, click on “Output” on the interface or the Output icon. This option allows you to select the frame rate, codec and video format, path location, and so on.
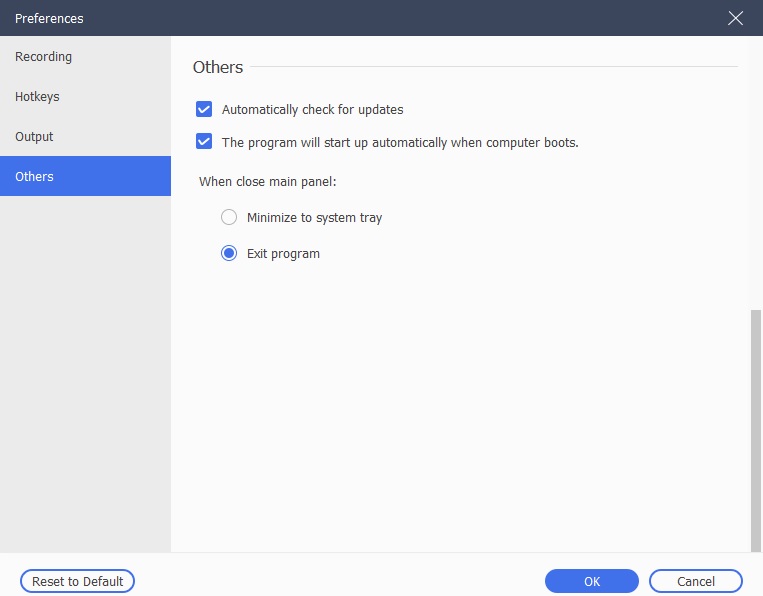
Others
Click others when you select any of the four preferences on the interface. Here, you can choose if you want the program to check for updates automatically if you want the program to open automatically when you are on your PC, etc.
FAQs of AceThinker Aqua Sound
Find answers to frequently asked questions about AceThinker Aqua Sound and learn how to solve the problems here: https://www.acethinker.com/support/music-recorder-faq