 Google Earth is a spectacular application that really lets you to float into space and zoom back into any location on earth. When Google Earth was introduced, many were fascinated by how it can transport you into outer space. Also, it helps you look into detail on any place in the world from the comfort of your system. People often wonder how to record Google Earth video. It would be wonderful to record the movements from one place in the world to another place in a 3D view. You can even record at street view level or record a complete tour of your neighborhood for preparing a documentary video or for your academic purposes. There are many Google Earth video captures and recorders that can help you record a Google Earth tour. Still, only some applications can come up with the best quality video. Let's look at the best 3 methods to capture Google Earth videos.
Aqua Demo - Windows and Mac
AceThinker Aqua Demo is the perfect tool to record a Google Earth video. Why? The software is capable of recording the entire screen of your computer while preserving the original quality. In fact, it even lets you capture Google Earth video for up to 60 fps. Also, it is a picture-perfect tool because of its various features such as annotating while recording, attaching text, and placing different shapes and lines. Aside from screen recording, it also lets you grab a screenshot of Google Earth. The screenshot function also has the same built-in editing features for placing texts, lines, and shapes into the image before saving. Here is a simple step-by-step guide on using Aqua Demo as a tool to record Google Earth videos.
Try it for Free
Step 1 Download and Install the Program
Get your copy of the software either by downloading it from the link provided above or use these download buttons provided above. Next, install the program by carefully following the installation wizard steps—launch Aqua Demo after the installation to access the interface.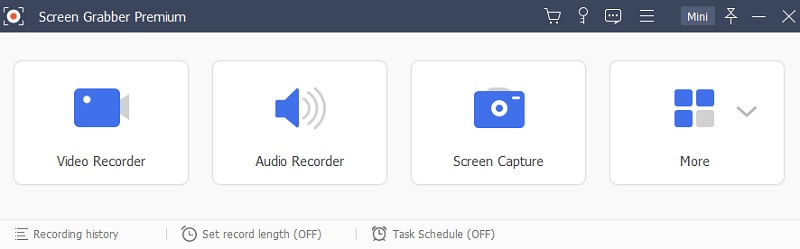
Step 2 Configure the Settings
Click the "Menu" option from its main interface located at its top-right corner. From the new window that'll appear, you can configure the settings of the recording. Set up the "Output" folder or directory of the recorded file and set the hotkeys and other menus that you can change. Once done, click the "OK" button to save all the changes applied.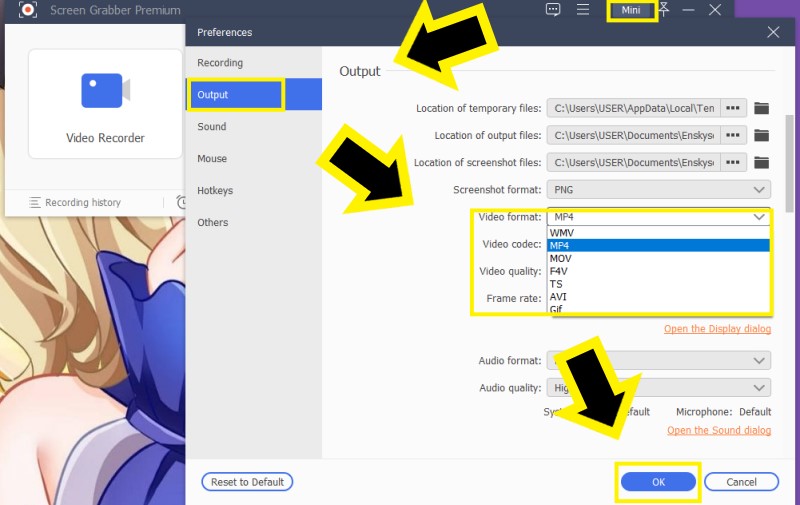
Step 3 Set-up the Recording
After the set-up, go to Google Earth first and set it up also. Go back then to Aqua Demo and click "Video Recorder" to access the recording mode. Suppose you select "Region," the recommended method for this purpose. In that case, it will automatically detect and optimize the recording area to Google Earth's picture display.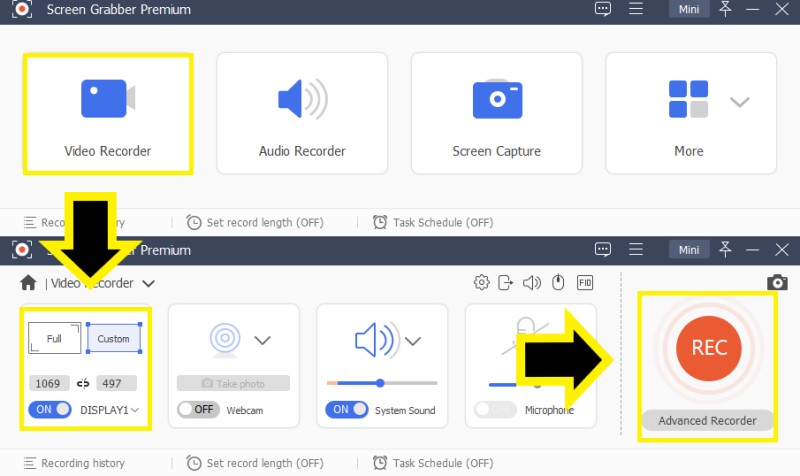
Step 4 Start Recording Google Earth
Next, click the screen and press "OK" on the toolbar that appears. This will initiate a 3-second countdown that will give you time to prepare for the recording. Once the recording has started, you can proceed to your demonstration. At the same time, it will record the activity of the highlighted area will be captured. One option that can be utilized is the real-time editing feature, which can be accessed from the recording toolbar by clicking the "Pen" icon. To end the recording process, hit the "Stop" button from the toolbar.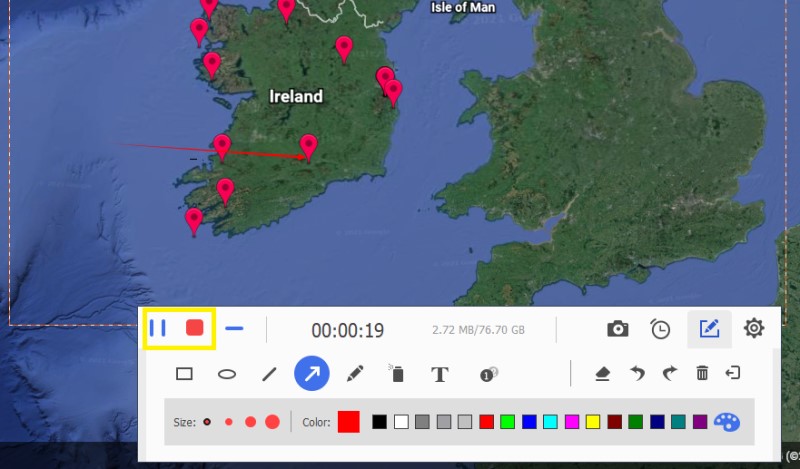
Step 5 Play the Recorded Video
After you hit the "Stop" button, the preview of the recorded video will appear. From here, click the "Save" button to keep the Google Earth recording on your computer. Once you're transferred to the recording history, right-click the file name to either play or open the recorded Google Earth video's output folder.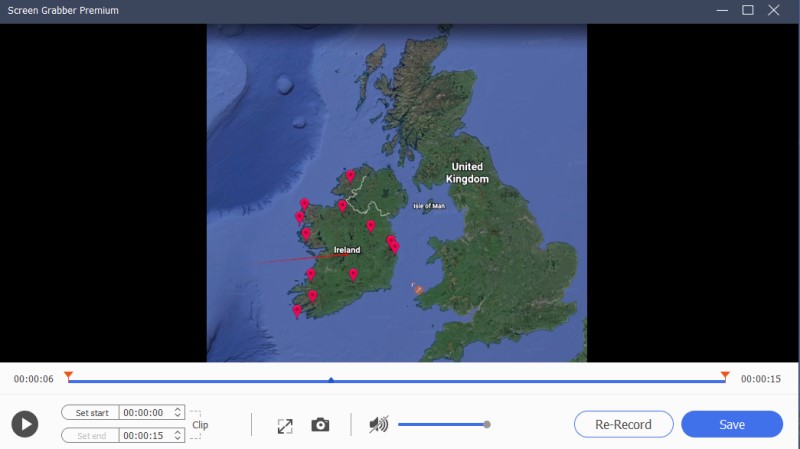
AceThinker Free Online Screen Recorder - Online Recorder
AceThinker Free Online Screen Recorder is one of the best Google Earth video recorders we highly recommend. People frequently use this tool to record movies, music, and high-quality Google Earth footage. This screen recorder allows users to record while maintaining the high-definition video quality that Google Earth captures. You can utilize this tool to record anything that appears on your computer screen. Moreover, it enables the user to record both audio and video. Real-time video recording is made possible, and audio from your computer or a microphone is recorded with the recordings. The video output can be exported to popular video formats, including FLV, MP4, WMV, and AVI. Due to its user-friendly interface, you may shoot films from Google Earth without any complications. See the steps to record a video from Google Earth with this free online application.
Step 1 Launch the Recorder
Go to your web browser and visit the official website of Free Online Screen Recorder. From here, click the “Start Recording” button in the center part of the page to start the application. For first-time users, you must install the launcher to save the application on your computer.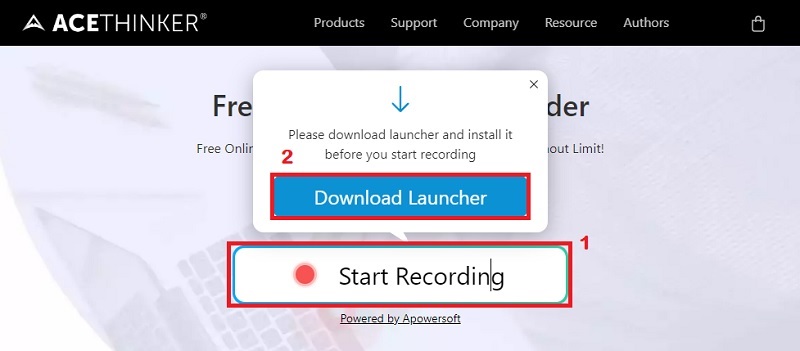
Step 2 Configure Settings
Once done, the recording toolbar of the tool will appear automatically on your desktop. On the right corner part of the tool, click the "More" button. Then, choose "Settings" to make necessary selections on some options for your output formats, output folder, and more. Hit the "OK" button to keep all the modifications made.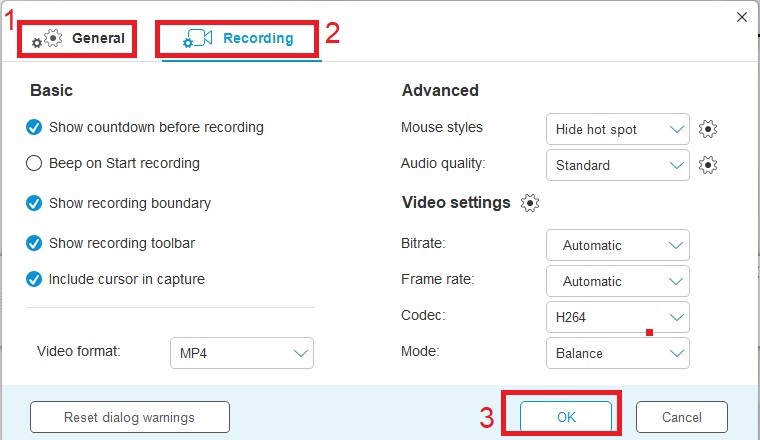
Step 3 Record Google Earth Video
Next, open another web browser to initiate Google Earth and prepare for your recording. Set the region of your desired size or set it on full-screen view for your recording. Once satisfied, click the "Rec" button on the left side of the tool to start recording.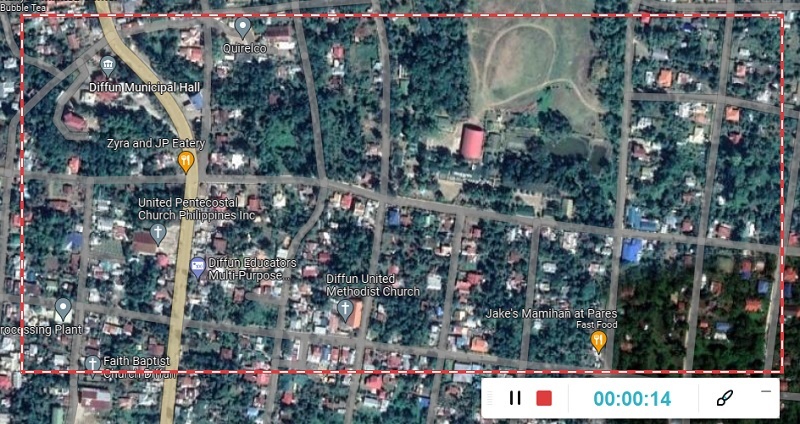
Step 4 Insert Annotations
You can annotate a video as it is being recorded by drawing lines, arrows, and text on the screen. To enter the editing toolbar, click the "Pen-like" symbol. From here, select one of the various functions to highlight certain recording sections.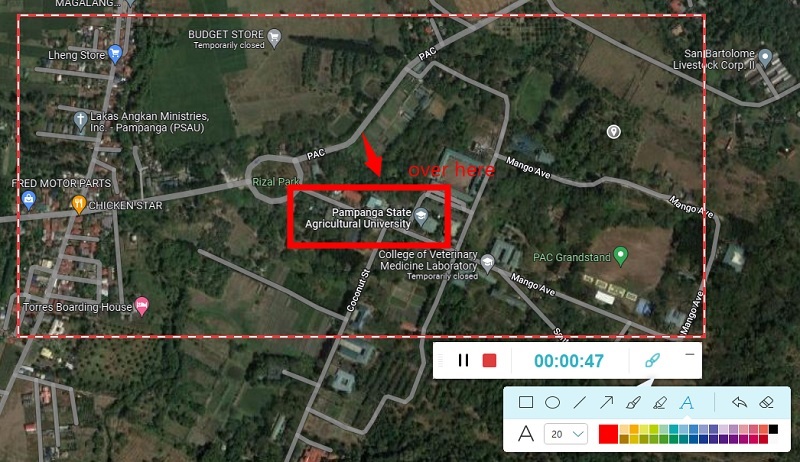
Step 5 Save the Recording
Click the "Save" icon to preview and save your Google Earth video as a video format or a GIF file. The file will then be instantly published, and you may locate your film in the output folder of your choice. Alternatively, you may click the "Share" button and choose "YouTube" to submit the recorded file to the well-known video streaming service.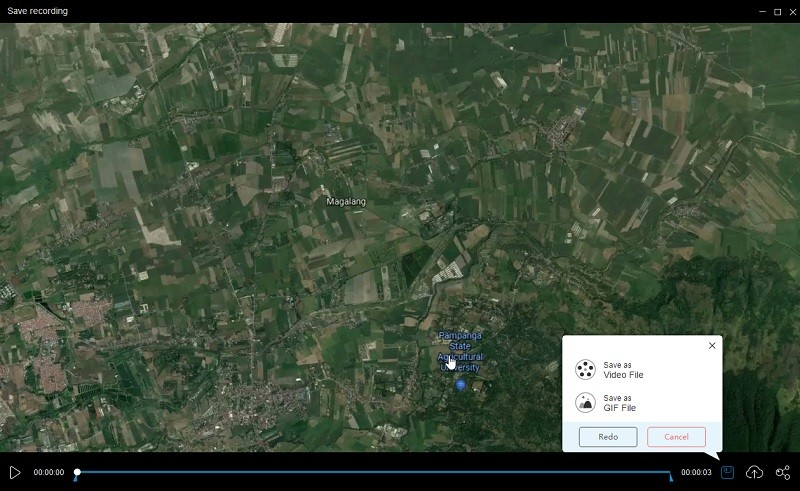
Built-in Recording Function- Google Earth
Google Earth Pro is a fascinating and interesting 3D software that can help you circumnavigate the globe from the comfort of your home. It is used in many places to make planning and decision-making across various businesses and government houses across the world. It greatly reduces the cost of visiting the place in person, as you can see everything on your computer in real-time. Google Earth Pro utilizes advanced drawing and measuring tools to provide accurate imagery and video. Builders and architects utilize the software to visualize a site to make initial decisions before coming to a final plan. First, to record videos with Google Earth Pro, navigate to the desired position in the Earth and click start recording to record all your movements. It starts recording all your zoom-in, zoom-outs, and audio inputs and recording a Google Earth tour in the highest quality. The disadvantage is that it will take you much time to learn how to use it and the settings for recording video from Google Earth.
User Guide
- Open Google Earth and click Add Tour, or, in the ribbon over the globe, and then click Record.
- To begin recording, go to the lower-left corner of the media player and then click Record/Stop.
- To record audio, click Microphone Record/Stop.
- Move to any place you desire to tour or proceed to the panel at left-hand below "Places" and then click a placemark to travel to that area.
- When you are done recording, go ahead and on click Record/Stop. In the right corner below, a media player will show up, and your tour will start playing.
- Click Save, to store the tour, in the media player. Enter the title in the "name field" in the box that opens and use the Description and View tabs to add more info about the tour.
- Click OK to save the file.
Conclusion
To sum up, there are various ways to capture video from Google Earth. Here, the effective and easy 3 ones are introduced. If you're using Google Earth Pro, you can use the built-in recording function to record what you need. If you don't want to install any program to do the recording, you can use the free online one. I hope this article will help you complete your Google Earth recording task. If you have any other Google Earth recorder software suggestions, please share them in the comment section.